CLEAN MARBLE TUTORIAL
Tutorial by Philip Klevestav< Back to Material Tutorials Index page
INTRODUCTION
In this tutorial I will go through some steps to create a very clean, reflective surface such as a polished marble floor like in this example.Marble in particular can look vastly different depending on what kind of finish it has. Some marbles are pretty rough and very matte while some are almost as smooth and reflective as glass. This tutorial will cover the later one more.
When working with very smooth surfaces, espcially if highly reflective it is all about adding subtle details. Sometimes you may hardly see them in the texture map, particularly in the normal map as these subtle details and gradients may sometimes be so subtle you have to zoom in or toggle a layer on/off to see the difference.
Just like in the clean concrete tutorial this one will be made using Photoshop only.
STARTING WITH THE NORMAL MAP
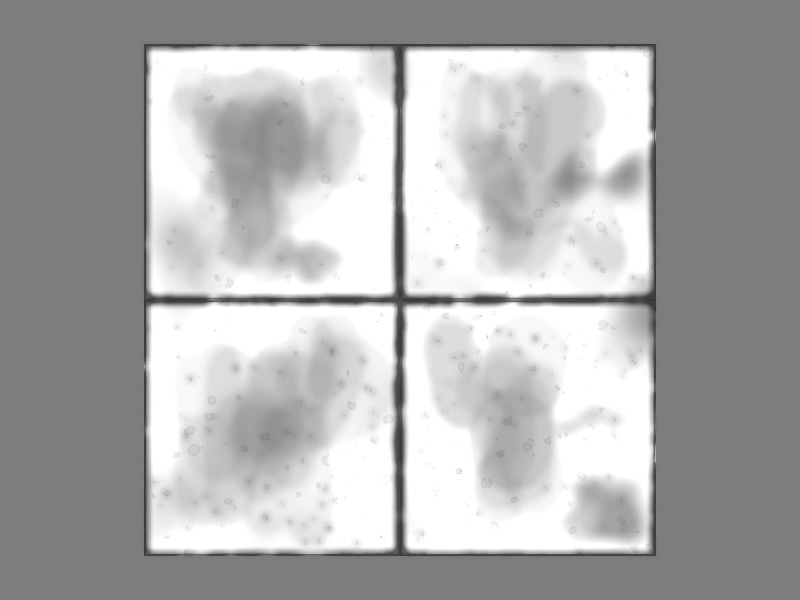
I start by creating a desired size of my marble blocks. Simply made a block with a small "Inner Glow" set to multiply with a darker color and copied that block up so I have 4 tiles. Just like in the top left part of the image below.
And just like in the clean concrete tutorial I create a new empty layer where I color pick the edges of my generated normal map and paint some uneven strokes around the edges. Make sure to make these very subtle and do not go too far off the lines, the tiles are still very clean but some uneveness is pretty much required to make them feel more believable, nothing is ever absolutely perfect.

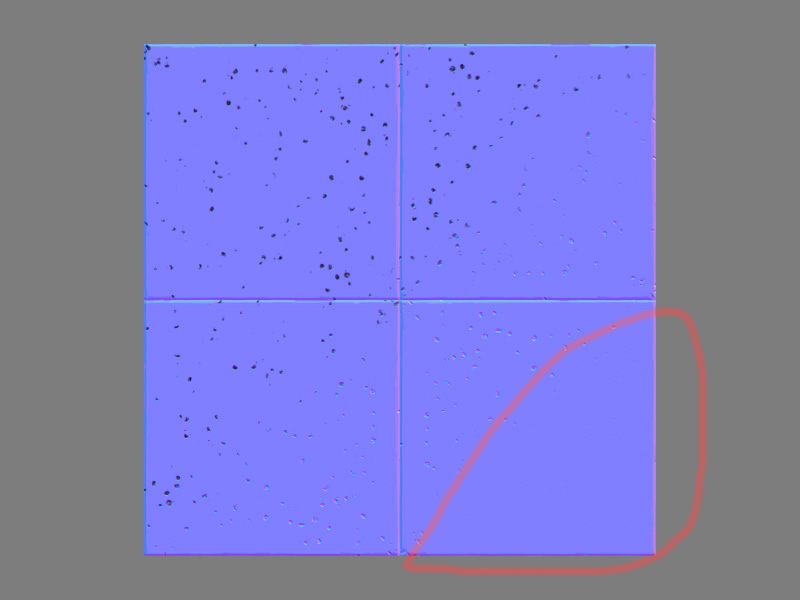
Here is also a similar step as in the clean concrete tutorial, I create a new layer where I scatter some dots, flatten the layer to a white background and generate a normal map from that and overlay it ontop of my tiles.
I set a very low opacity on these. As you can see in the red marked area you can not even really see them when zoomed out like this. It is hard to just guess how visible you should make such details before trying it ingame, so it is a good idea to always keep them in separate layers to be able to adjust any values later on.
This is a trick I do pretty much on everything that is split up in some kind of tiles. It works particularly well when you work with a reflective/environment cube mapped surface, but is very useful on stuff like brick walls as well.
What I do is to add a different normal map angle to each tile/plate/block using the "Paint Bucket Tool" in a new layer.
If you have a lot of different tiles in the texture you can use a low opacity on the "Paint Bucket Tool" and click more than once in some tiles and just once in some to vary the intensity on the angles.
I make sure to set it to some very low opacity as well. In the image below they are on 100% opacity just to be able to see them. I usually keep these details around 10-20% max, especially if the surface is using a cube map.

Now it is time to go into 16bit color depth (Image > Mode > 16 Bits/Channel). Below is a demonstration on the difference using 8bit color depth to generate a normal map with some big gradients as opposed to using 16bits.
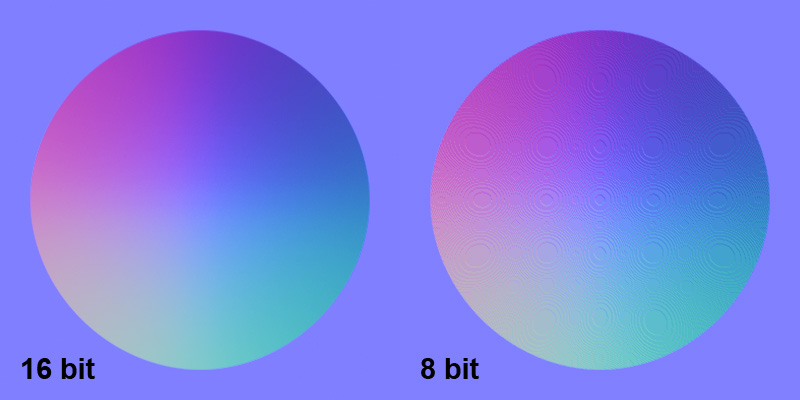
What I do now is to create a new black layer where I paint two strokes only with a huge soft brush, you can really paint this as you wish, I went with a simple cross. I then generate a normal map from this image, still in 16bit mode.
Then I overlay the result on the rest and set a low opacity. I make a new layer where I flatten and paste the normal map and then normalize it. You can now go back to 8bit mode and save your normal map if you wish.

MORE SUBTLE STUFF
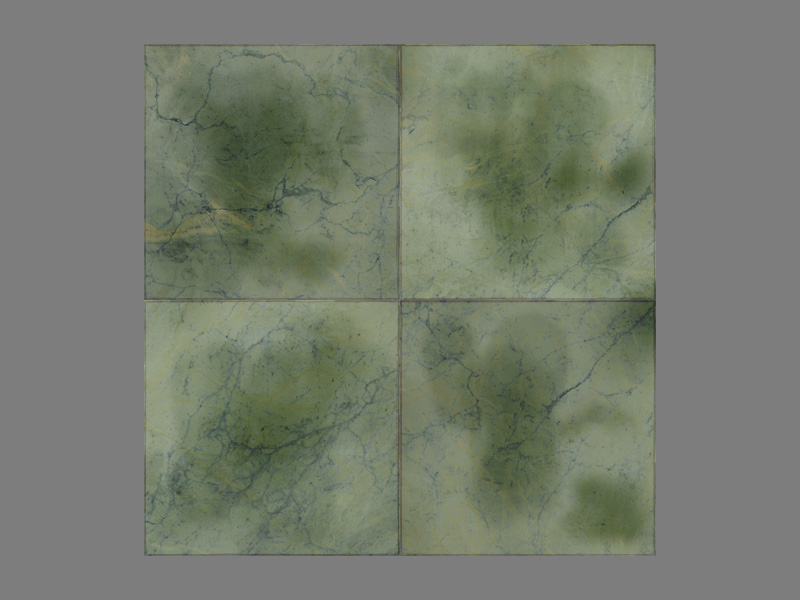
The diffuse was simply made with something very suface blurred and color tweaked as a base (bottom right) and then overlay another image with some marble detail. I made sure to offset each tile so it will not look like it is carved from one big piece just with seams inbetween. You can offset, flip or rotate or do all just to make sure each tile does not "inherit" detail from a neighbour tile.
I copy the overlay from before and set it to Normal blending, using the normal map blue channel, invert it, contrast it and blur it slightly I get a nice mask I can use for the seams. Make sure to paint some additonal information or missing parts in the mask if needed.
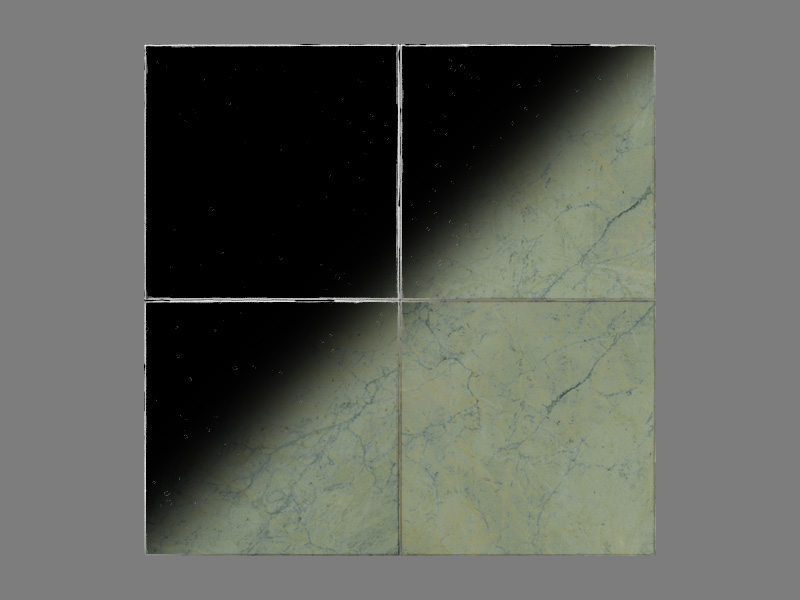
Here is some general tweaks such as adding some darkening in the tile middles. This will be VERY subtle in the diffuse, I only exaggerated it here so you would be able to see it properly. I also added some very subtle brightness difference on the different tiles.
Below are the things I darkened in the specular. The marble "cracks", the small dots from the normal map were also made darker and I made the seam black with a small "Outer Glow" set to multiply.

Since I want this to be a highly polished surface I make the glossiness very bright. I used the middle darkening from the diffuse to make parts a little more matte, as if people stepped there a lot before.
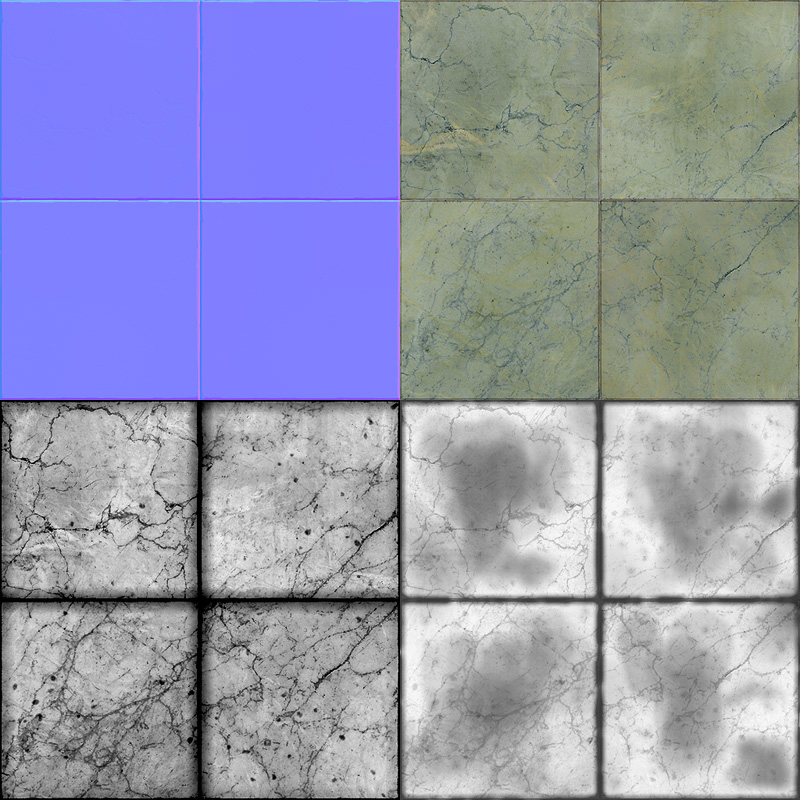
These are the final maps.
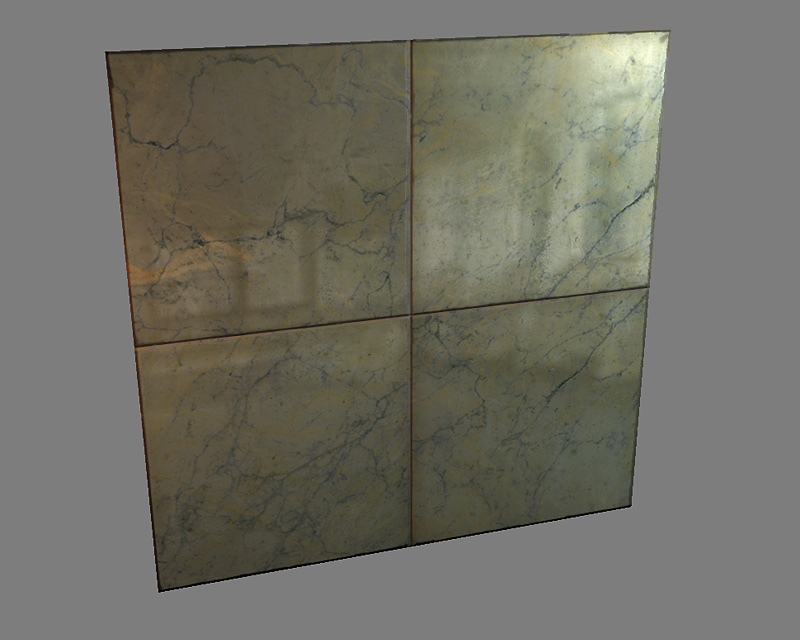
The end result with all maps applied and a cube map reflection slappd on.
Download the .PSD
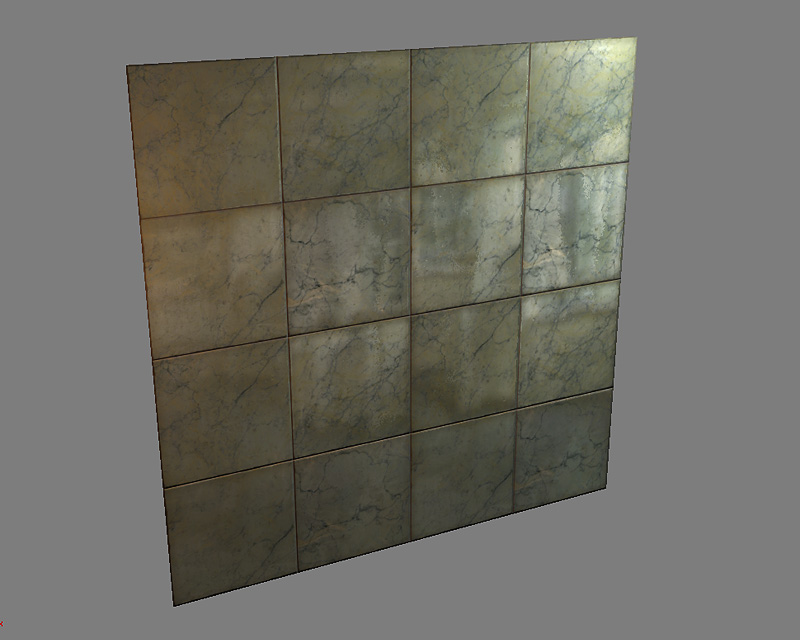
It may be hard to see here but it becomes very appearant in motion, and in harsh angles, that the normal map helps break up the cube map as if the tiles are slightly bumpy and slanted.
< Back to Material Tutorials Index page