MATTE METAL TUTORIAL
Tutorial by Philip Klevestav< Back to Material Tutorials Index page
INTRODUCTION
In this tutorial I will describe my workflow for a pretty typical metal plate wall (that is a bit sci-fi). I will use 3DS Max and Photoshop to create this material.The metal type will be a pretty matte metal surface with some weathering and paint applied, you can apply a cube map reflection on such materials but I strongly recommend to use one with very blurred details or even better, if your engine supports it, use one of the lower mipsteps in one with crisp details.
3D PROCESS
Start with a simple plane, the first thing I want to do is to create a very basic shape using some bevels.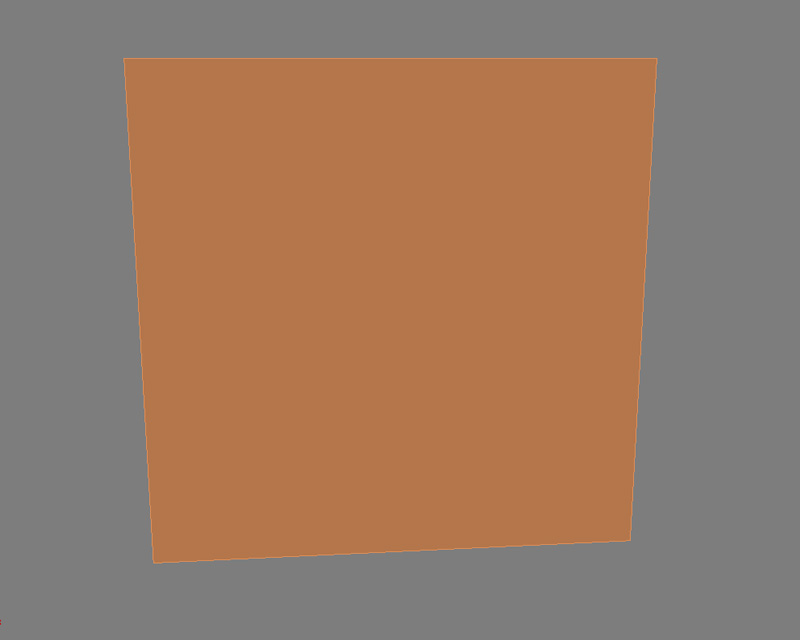
Here is the basic shape, you can see I mostly used about 45 degree angles at most. And I usually model the whole base without any smoothing groups to see the shape clearly. Try to stay away from using too big angled shapes as this will really give away that there actually is no geometry there but a flat surface.
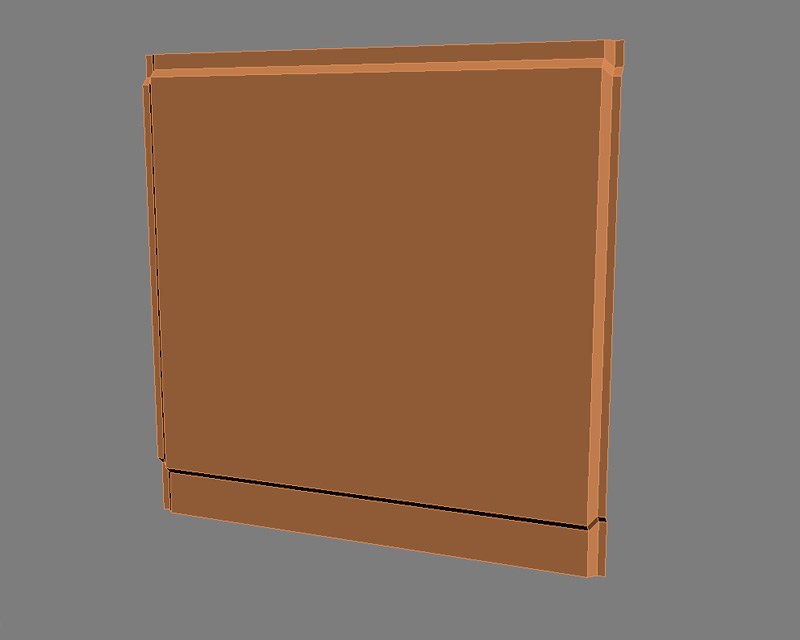
A tip is to not model things too deep when projecting to a flat surface. A normal map works best with smaller details and angles at 45 degrees or less (of course you sometimes want to use more than 45 degrees, this is just a good basic rule in general).

Now the angles are all really sharp due to everything being just simple angles without any chamfered edges and no smooth shading. So what you want to do now is to start adding "support edges". These are edges laying close to your angle edge, one on each side of the angle.
You may not want to have any smooth transitions on concave angles, so in those cases you can put the faces in different smoothing groups (use hard edges in Maya). I still recommend to use one single smoothinggroup (only soft edges in Maya) on your whole object and vary the suport edges distance to get harder or softer edges.
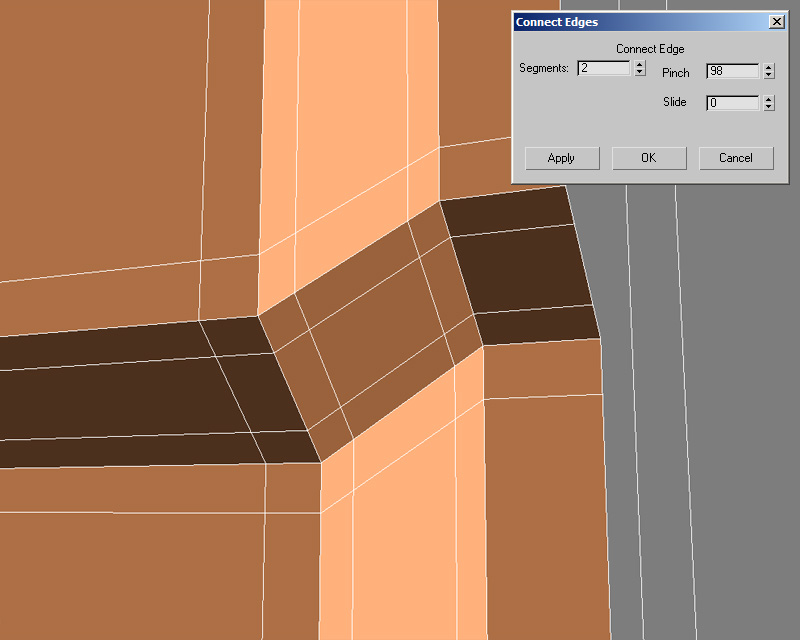
This is the result after all support edges are done and the whole object use one smoothing group.

Now I want to create some smaller details to make the surface more interesting. So I model up three different objects that I can then place out as I see fit on the base mesh.
Notice that the bolt and the rectangle handle has their border edges extruded, this is to get a smooth transition even on the border as they will be placed as "floaters".

Floaters are placed in the "air", this can be a little bit tricky if you will bake such details to a rounded shape or something similar since they may be rayed in a wierd way when being baked. You can usually go around any problems like that by just altering the distance the floaters are placed at. Or you can render them out separately.
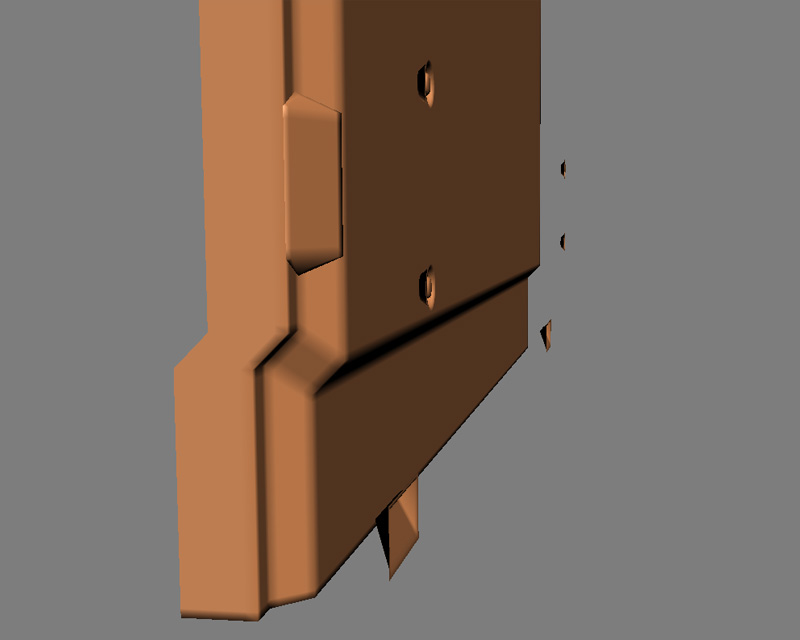
This is how I placed my details.

When I am about to render the whole thing out I usually make copies of the base object and place one on each side of my original. This is to still get the ambient occlusion bake to not be white at the borders but rather be baked as if this was a piece of a tiling wall.

DIFFUSE, SPECULAR AND GLOSSINESS
First of all I have the baked ambient occlision from my highpoly. This will help a great deal when creating the rest of the texture maps.I proceed by creating a copy of the blue channel in the normal map and contrast that. I then go in with "Select > Color Range" and select the dark parts, after that I extend the selection a bit using "Refine Edge" and simply bucket fill my selection into a new layer with a white color. I then mask out everything from my original selection.
After these steps I should have a pretty good edge definition map, only that thing is the concave parts in the normal map are also present in it, those should not be included, so create a mask for my edge definition layer and simply paint away the concave areas.
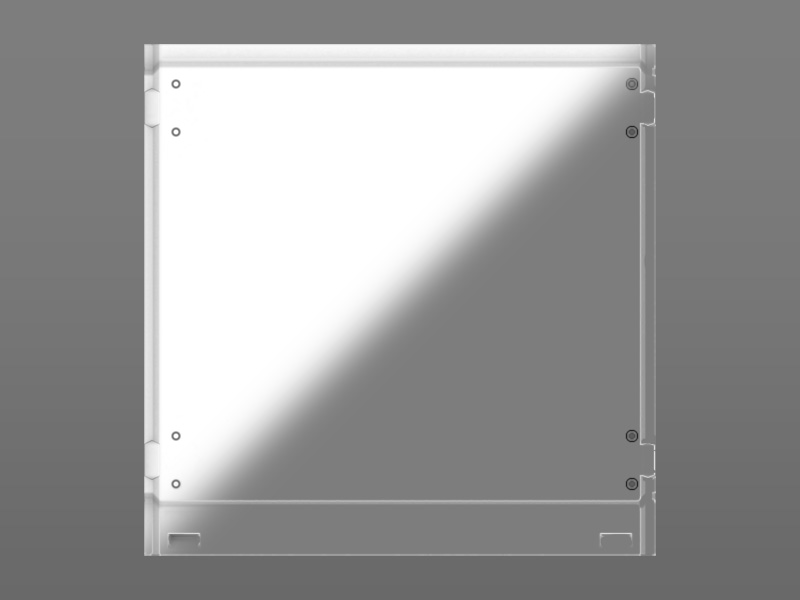
A really easy way of generating a nice layer for this is to use the Photoshop filters you get with xNormal. One very handy thing is to use "Filters > xNormal > Normal2Cavity" on a copy of your normal map, then simply choose some settings of your liking, I usually use "EMB" as method and can then be able to extract the bright (convex edges) and dark (concave edges) information into two different layers.
I did not use this in my example texture as I thought the tutorial should not focus on extra tools, but it is a great way to get a good base layer for concave and convex edges from your normal map and xNormal does also include a lot of other very popular stuff that can be really handy when baking textures as well.

Now I start blocking out any colors I want in different base layers at the bottom.
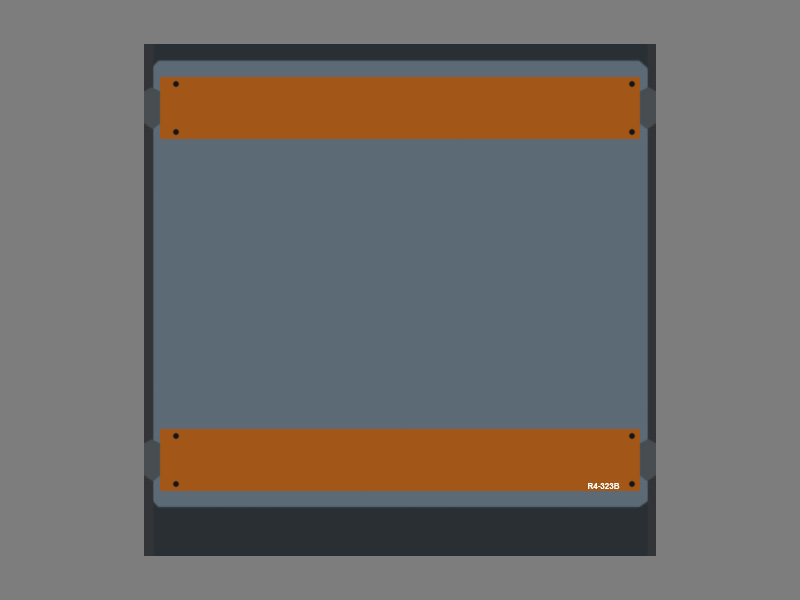
Add a couple of overlays to get some surface detail up.
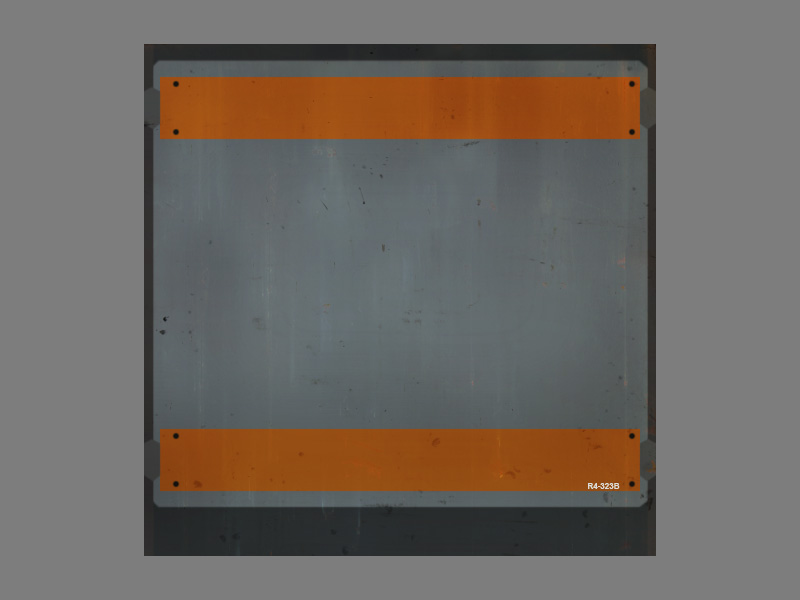
I want to add some rust and edge damage now. I simply add layers with the colors and brightness I want and mask those out by hand using a pretty small and quite sharp brush with an opacity of 70-100%.
You can of course use photos or any of your generated edge definition layer or ambient occlusion for masking, or just have those as a base that you paint some by hand on top of.
I also added a gradient layer that goes from black to white from the bottom and up. This usually help your texture to look like it has some more depth, however it does not work on every kind of texture obviously since some may be repeated a lot vertically and you would not want a gradient to repeat like that usually.
These are pretty much the usual elements I use when creating the diffuse for similar textures to this, and I always keep the same structure no matter what kind of material I work with.

Moving over to the specular, in the image below I kind of extracted the main areas of interest. The edges are brighter to help the shape pop out a bit. Be careful with this when it comes to metal, it is easy to go overboard with such details and it will just make your texture look like somone went on brushing all sides with sandpaper if there is too much of it.
I also want the paint to have a higher specular intensity, but not too much more, when it comes to the glossiness that is more important to differentiate the paint from the base metal.
Other than that I usually try to change the brightness somewhat between different parts of the material to avoid having it feel like it is all made out of one big chunk of metal, these variations can and should be in all the texture maps.
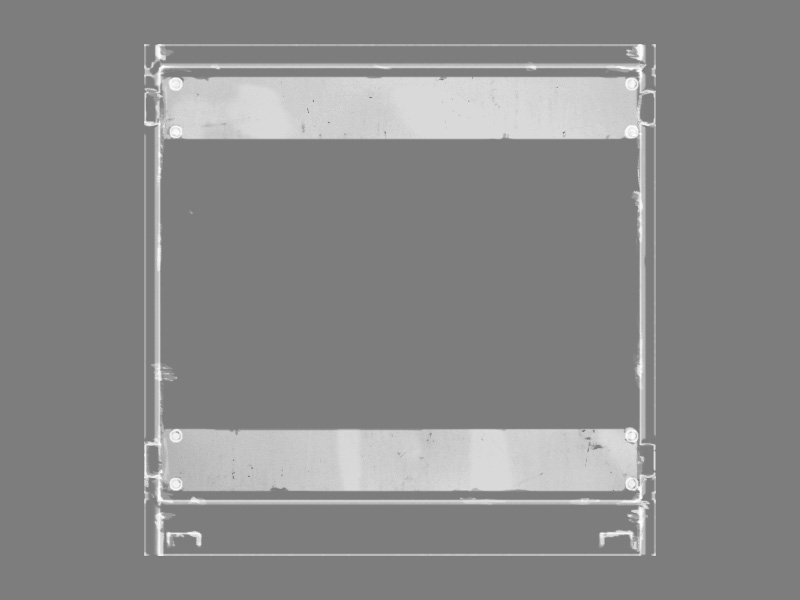
With the glossiness map you can do a lot when it comes to metal especially. I made the paint brighter so it will look like it's smoother than the slightly rougher metal surface. I also made all the edge worn darker in the glossiness since those hacks are probably pretty uneven and coarse. You may want to experiment with that a bit.
There are a lot of different types of metal, but when it comes to large wall segments and plates they are usually pretty matte, meaning you will mostly work with darker glossiness maps and bright to semibright specular maps. But it is always fun to play around some with some brighter details here and there in the glossiness, and a lot of times you do not even have to use various specular intensities but just playing around with varying the glossiness may be enough to create such variation.

Lastly I created some larger bevels in the normal map to just make the plates a bit uneven. For this you can either create a new layer that is white or black and paint some large soft blobs in the opposite color or even use "Filter > Render > Clouds" and blur the result. Remember to work in 16bit (Image > Mode > 16 Bits/Channel) color depth if you want your gradients smooth. This is extra important if you are to apply any type of reflection/cube map reflections on your surface. When done with the details you can convert the image back to 8bit and the smooth gradients will be maintained.

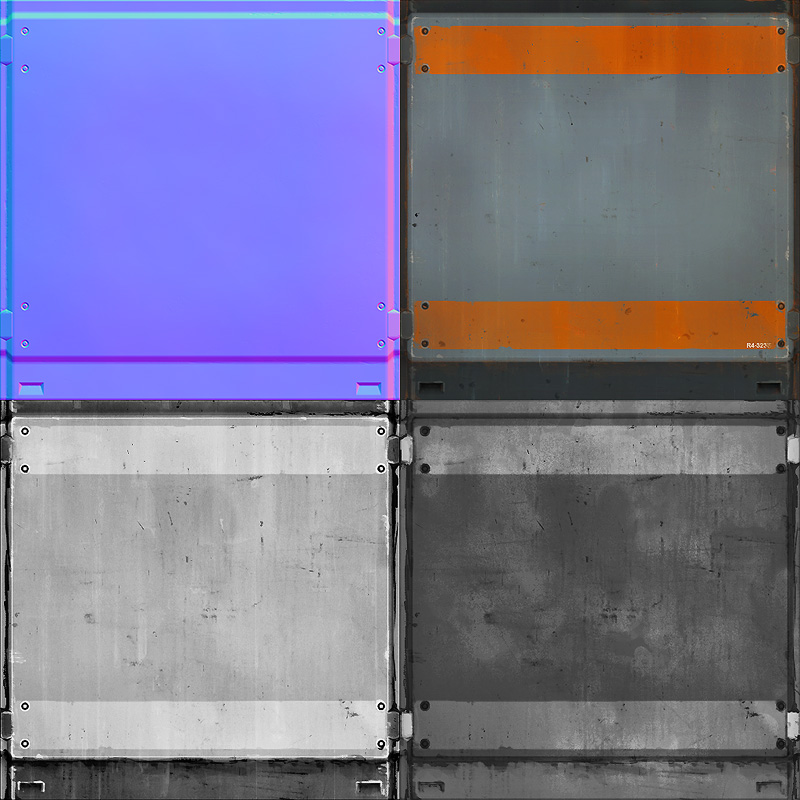
The final maps when everything is applied on each texture map.
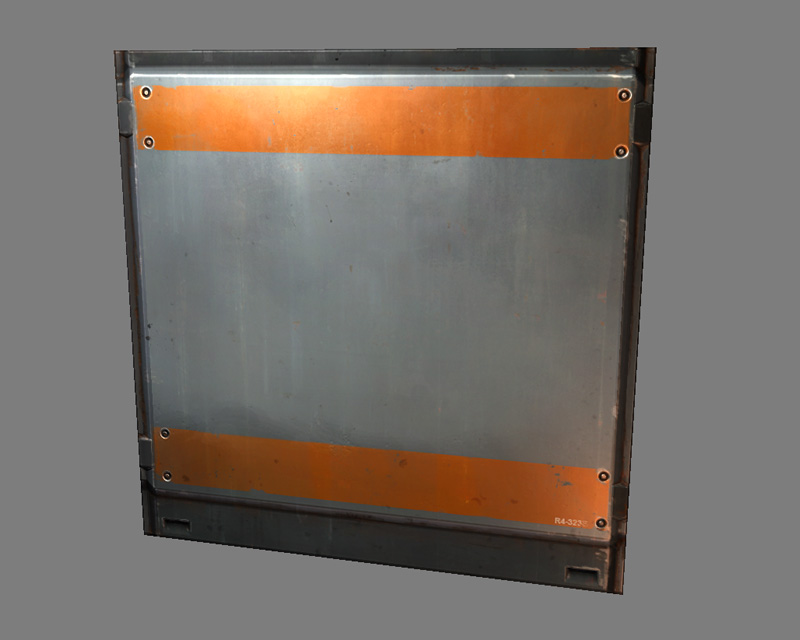
The end result with all maps applied.
Download the .PSD
< Back to Material Tutorials Index page